

Carving pumpkins is a fall classic, but sometimes you don’t feel like dealing with pumpkin guts, tiny carving tools, and a jack-o’-lantern that starts looking questionable a few days later. That’s where painted pumpkins come in.
Painting pumpkins is an easy way to get creative for fall and Halloween, whether you’re decorating a real pumpkin from the patch or giving a fake craft pumpkin a makeover you can use year after year. You don’t need fancy supplies or serious painting skills, either. A few colors of acrylic paint, some brushes, and a little patience can go a long way.
As a painting instructor, acrylic paint is my go-to for projects like this because it’s affordable, beginner-friendly, dries quickly, and comes in just about every color imaginable. So grab a pumpkin and let’s paint!
What Kind of Paint Should You Use on Pumpkins?
For most pumpkin-painting projects, acrylic paint is my top choice. Acrylic paint is water-based, easy to work with, dries relatively quickly, and can be layered to create everything from simple designs to detailed artwork. It’s also widely available at craft stores, art-supply stores, and even many big-box stores.
You don’t need expensive professional-grade acrylics for pumpkin painting. Basic craft acrylics are perfectly fine for most projects. Acrylic paint works well on both real and many types of fake pumpkins, although faux pumpkins sometimes need a little extra preparation depending on what they’re made from.
Supplies You May Need
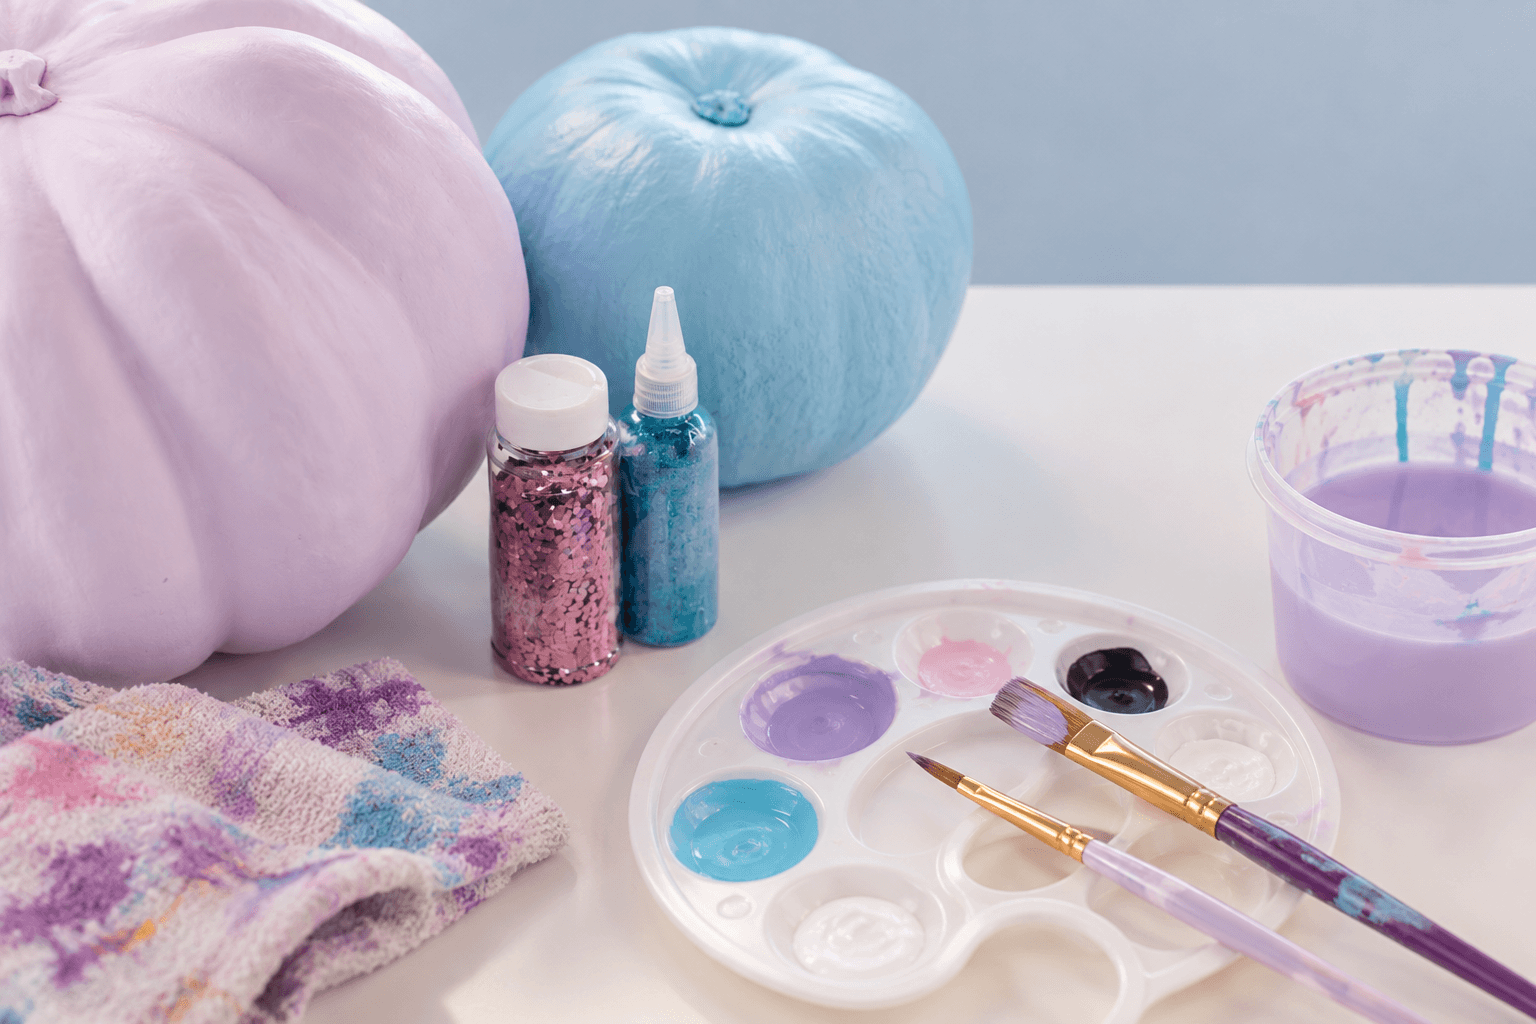
You don’t need all of these for every project, but here’s a good starting point:
- Real or faux pumpkin
- Acrylic paint
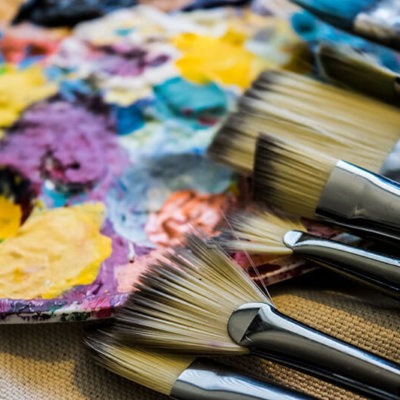
- Assorted paintbrushes
- Cup of water
- Paper towels or a rag
- Paper plate or paint palette
- Pencil or chalk for sketching
- Acrylic paint pens for details, if desired
- Primer for certain faux pumpkins, if needed
- Clear acrylic sealer for projects that need additional protection
- Glitter, sequins, googly eyes or any other fun accents!
Once you’ve gathered your supplies, the most important step happens before you even open the paint.
How to Prepare a Real Pumpkin for Painting
Don’t bring your pumpkin home from the patch and immediately start slapping paint on it. Pumpkins can have dirt, dust, natural oils, and other residue on their surface that can make it harder for paint to adhere.
Start by gently cleaning the outside of your pumpkin. A damp cloth usually works well for removing surface dirt. If your pumpkin needs more cleaning, use a small amount of mild soap and water. Avoid soaking the pumpkin. Once it’s clean, let it dry completely before painting. Acrylic paint and a damp pumpkin aren’t exactly best friends.
Also inspect your pumpkin for soft spots, cuts, or signs that it’s already beginning to rot. Painting isn’t going to magically reverse that process, so start with the healthiest pumpkin you can find.
Do You Need to Prime a Real Pumpkin?
Usually, no. You can paint acrylic directly onto a clean, dry pumpkin. However, if you’re planning to cover most or all of your pumpkin with a solid color, painting a base coat first can make the rest of your design easier. Light colors in particular may need multiple coats when painted over a dark orange pumpkin. If you’re leaving most of the natural pumpkin visible and simply adding a design, skip the primer and paint directly on the surface.
How to Paint a Real Pumpkin With Acrylic Paint
Once your pumpkin is clean and completely dry, it’s time for the fun part.
1. Plan Your Design
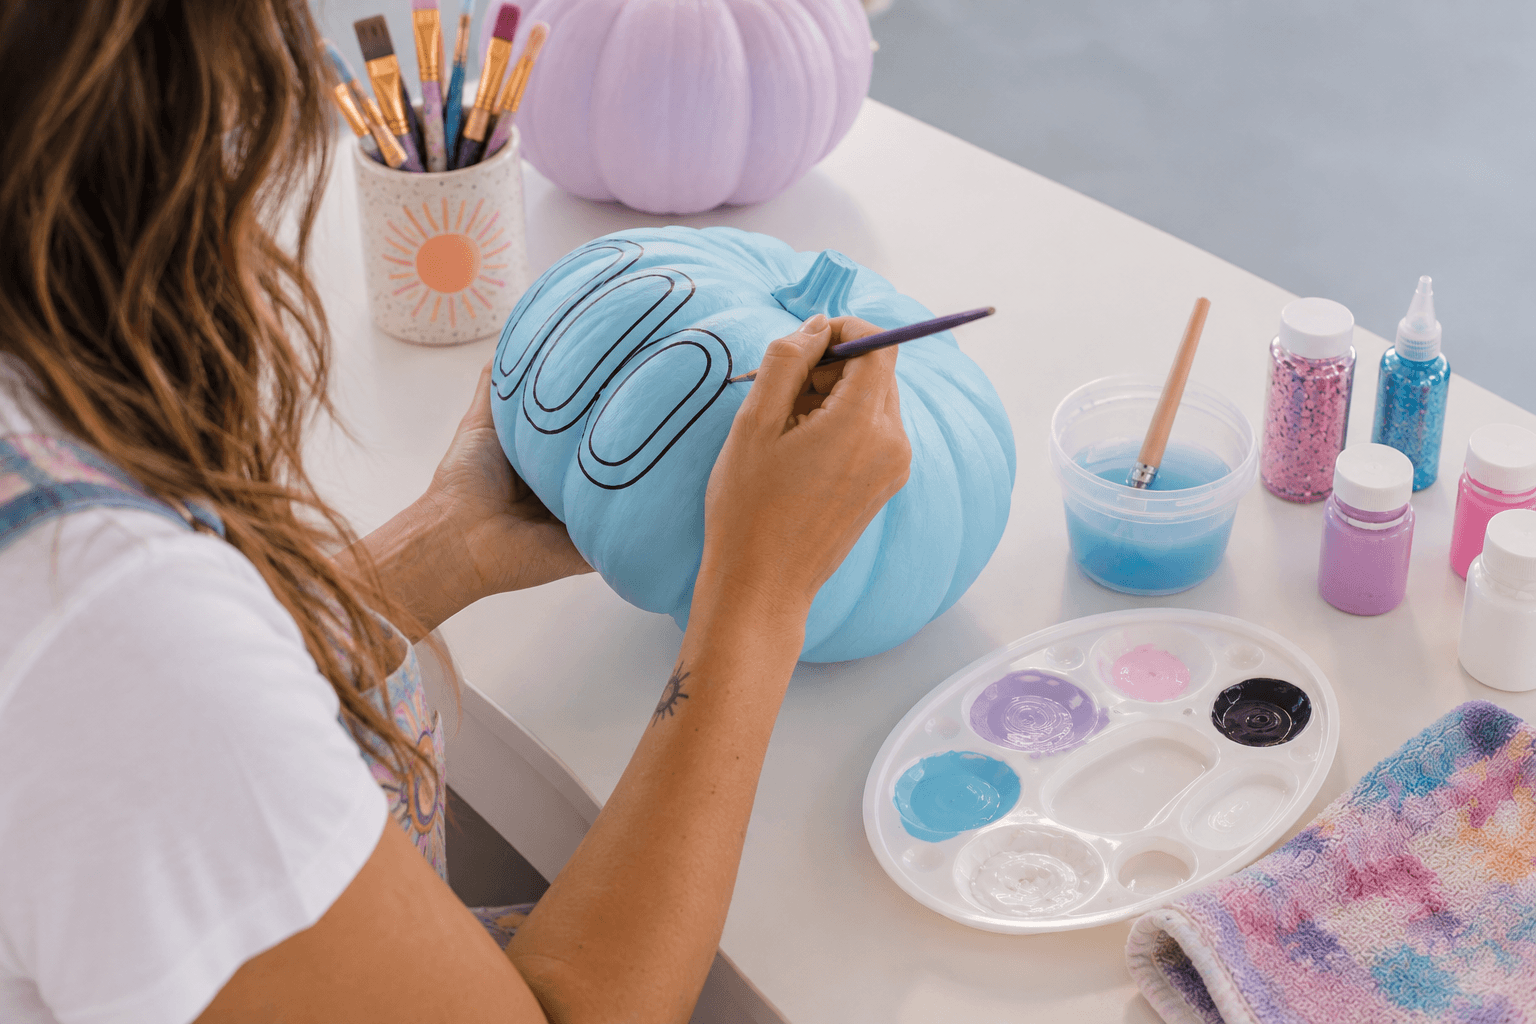
You can absolutely freestyle your pumpkin, but if you’re creating something more detailed, lightly sketch the design first. A pencil may work on some surfaces, while chalk can be easier to see on darker pumpkins. Keep your lines light so they don’t show through the finished painting.
And remember: you’re painting a round, uneven object. Your design doesn’t need to be mathematically perfect. The pumpkin certainly isn’t!
2. Start With Larger Areas
Paint your largest shapes and background colors first. If you’re painting the entire pumpkin another color, work in thin coats rather than trying to completely cover the orange in one thick layer.
Allow each coat to dry before adding another. Several thin coats generally give you a smoother finish than one heroic glob of paint.
3. Add Your Details
Once your larger areas are dry, switch to smaller brushes for details, patterns, outlines, lettering, faces, or highlights. Acrylic paint pens can also be helpful here, especially for fine lines, dots, lettering, and geometric designs.
4. Let the Paint Dry
Acrylic paint dries fairly quickly, but thicker areas take longer than thin layers. Even if the surface feels dry, try not to immediately grab the pumpkin by your freshly painted masterpiece. Give it some time.
How to Paint a Fake Pumpkin
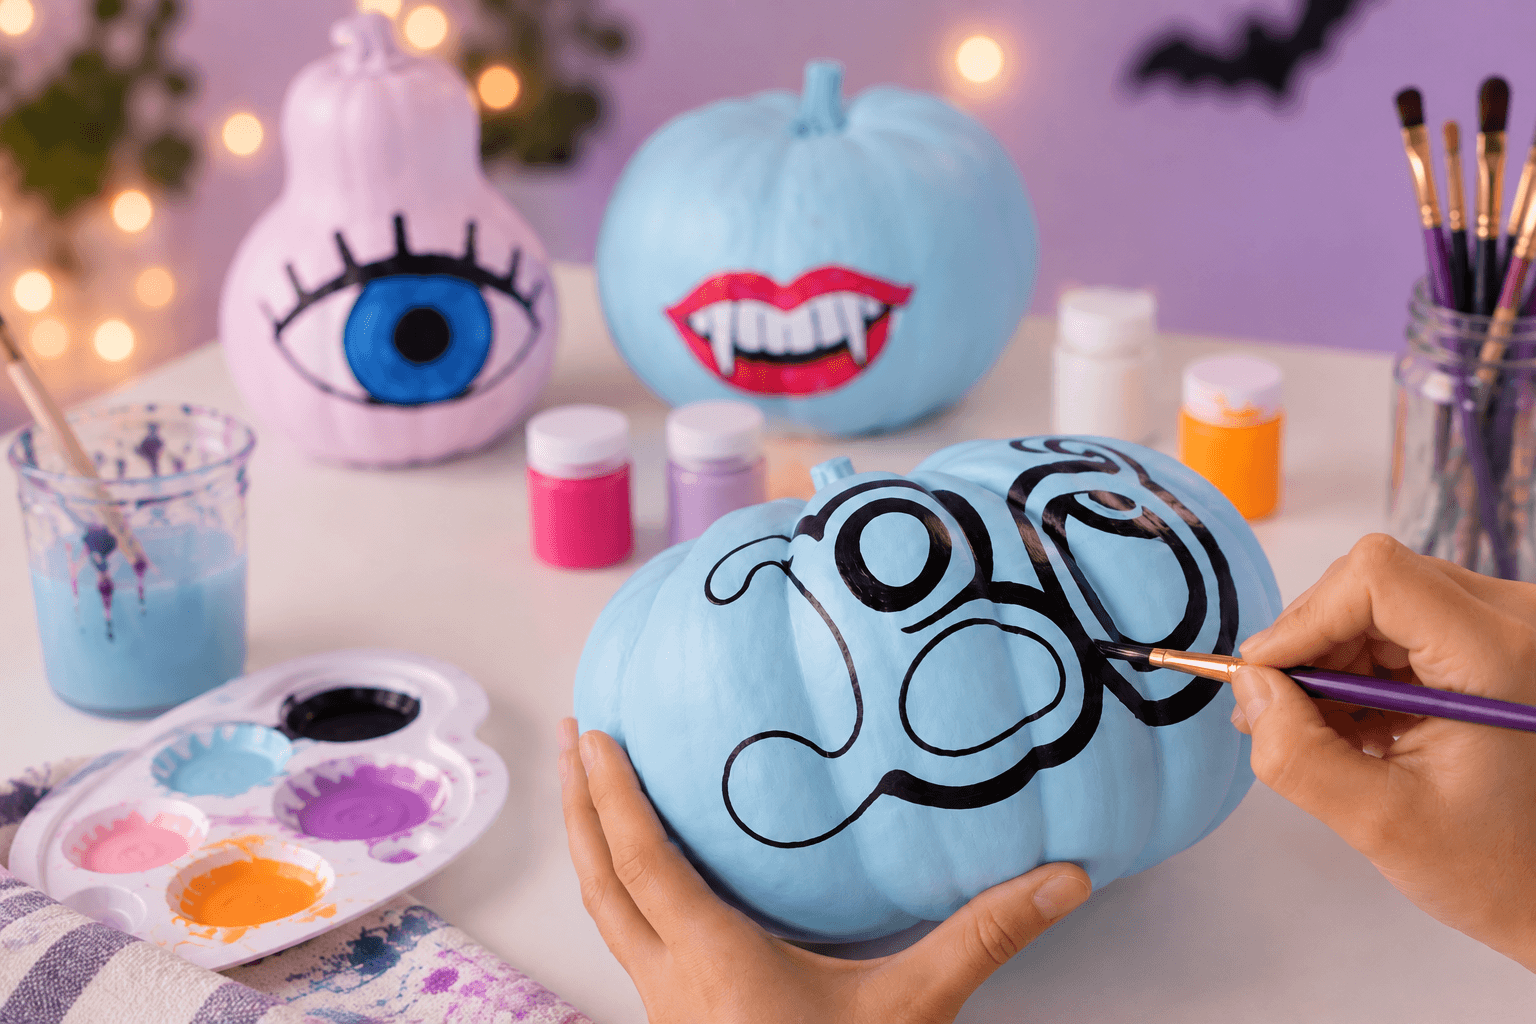
Fake pumpkins are fantastic if you want to keep your artwork and pull it back out next fall. The catch is that faux pumpkins come in all sorts of materials and finishes. Some have a matte, slightly porous surface that takes acrylic paint beautifully. Others are smooth, glossy, plastic, foam, or coated with a finish that makes paint more likely to bead up or scratch off.
Before painting the whole thing, test a small amount of acrylic paint somewhere inconspicuous. If it adheres well, you’re good to go. If the paint beads up, slides around, or easily scratches away once dry, the pumpkin may need some preparation.
Preparing a Slick Faux Pumpkin
For a particularly smooth or glossy pumpkin:
- Clean the surface to remove dust and residue.
- Let it dry completely.
- If the material allows it, very lightly scuff a glossy surface with fine-grit sandpaper.
- Remove all sanding dust.
- Apply a primer designed to adhere to that particular material.
- Let the primer cure according to its instructions before painting.
Then you can paint your design with acrylics just as you would on a real pumpkin. The extra prep is annoying, but considerably less annoying than watching half your beautiful pumpkin design peel off.

Do You Need to Seal a Painted Pumpkin?
It depends on the pumpkin and what you plan to do with it.
Real Pumpkins
For a real pumpkin that’s going to sit indoors temporarily, I generally wouldn’t consider sealing absolutely necessary. Remember that a real pumpkin is still fresh produce. Painting or sealing the outside doesn’t make it permanent, and eventually the pumpkin will naturally break down.
If you decide to use a clear coating, make sure it’s appropriate for your project and follow the manufacturer’s directions carefully. Don’t assume that covering a real pumpkin in more products automatically makes it last longer. Your best preservation strategy is still starting with a healthy pumpkin and keeping it somewhere relatively cool and dry.
Fake Pumpkins
Sealing makes much more sense for faux pumpkins, especially if you want to store and reuse them. Once the acrylic paint has completely dried, a compatible clear acrylic sealer can help protect the design from scratches and handling.
For pumpkins that will be displayed outdoors, check that both your paint and protective coating are suitable for exterior use. Even sealed craft projects can fade or deteriorate when they’re exposed to rain, moisture, and direct sunlight for long periods.

Easy Painted Pumpkin Ideas
You don’t have to paint the Mona Lisa onto a gourd. Some of the easiest pumpkin designs are also the cutest.
Try:
- Simple ghosts
- Colorful florals
- Mushrooms and woodland designs
- Stars, moons, and celestial patterns
- Checkerboards
- Polka dots
- Stripes
- Abstract shapes
- Traditional jack-o’-lantern faces
- Cats, bats, and spiders
- Monograms or hand lettering
- Fall leaves
- Dripping paint
- Mini landscapes
- Color-blocked pumpkins
You can also ditch traditional orange, black, and white entirely. Try unexpected color combinations like pink and red, sage and cream, lavender and orange, or a whole rainbow palette. t’s your pumpkin. There are no pumpkin police!

Common Pumpkin Painting Mistakes
Painting a Dirty Pumpkin
Paint sticks better to a clean surface. Take the extra few minutes to clean your pumpkin first.
Painting While It’s Still Damp
Let your pumpkin dry completely after cleaning it. Water left on the surface can interfere with your paint.
Using Too Much Paint at Once
Thick acrylic takes longer to dry and can create an uneven finish. Build your colors with thinner layers instead.
Not Letting Layers Dry
If you paint wet acrylic over another wet layer, the colors can start blending together. Sometimes that’s exactly what you want. Sometimes that’s how your adorable white ghost mysteriously becomes beige. Let each section dry when you need crisp colors and clean lines.
Trying to Make Everything Perfect
This is the big one. You’re painting a pumpkin. It has bumps, grooves, weird curves, and probably one side that’s inexplicably flatter than the other.
Work with the shape instead of fighting it. If a line isn’t perfectly straight or both eyes aren’t identical, you’re probably going to notice it far more than anyone else will.

Is Painting Better Than Carving?
It depends on what you want, but painting has some definite advantages. There’s no pumpkin gut cleanup, no carving tools, and you can create designs that would be difficult or impossible to carve.
Painting is also an easy option for younger artists who aren’t ready to use carving tools, although kids should still use age-appropriate, non-toxic art supplies with adult supervision. And you don’t have to choose. You can combine painting and carving on the same pumpkin for even more possibilities.
How Long Will a Painted Pumpkin Last?
A fake painted pumpkin can last for years when it’s properly prepared, protected, and stored.
A real pumpkin is another story. Painting doesn’t stop the natural decomposition process. How long a real pumpkin lasts depends on its condition when you bought it, temperature, humidity, handling, damage to the skin, and where it’s displayed.
To give yours the best chance:
- Start with a firm, healthy pumpkin.
- Avoid pumpkins with cuts or soft spots.
- Keep it somewhere cool and dry when possible.
- Protect it from excessive heat and moisture.
- Handle it gently.
- Check it regularly for soft spots or mold.
If it starts getting mushy, leaking, or growing something that appears to have developed its own civilization, it’s time to say goodbye.

Grab a Pumpkin and Start Painting
Painting pumpkins is one of those fall projects that can be as simple or elaborate as you want it to be. Paint a goofy face in ten minutes. Cover one in flowers. Turn a fake pumpkin into something you’ll put on your shelf every October. Get a few friends together, put some music on, and make a whole pumpkin-painting night out of it. The most important part is to stop worrying about whether you’re doing it “right” and actually have some fun making something.
And if you’d rather have someone else provide the supplies and walk you through the painting part, check out The Paint Sesh’s upcoming Paint & Sip events throughout Cincinnati and Northern Kentucky. We host beginner-friendly painting events at local bars, breweries, restaurants, and other venues throughout the year, including seasonal events for fall and Halloween.
See Upcoming Paint & Sip Events


Leave a Comment below