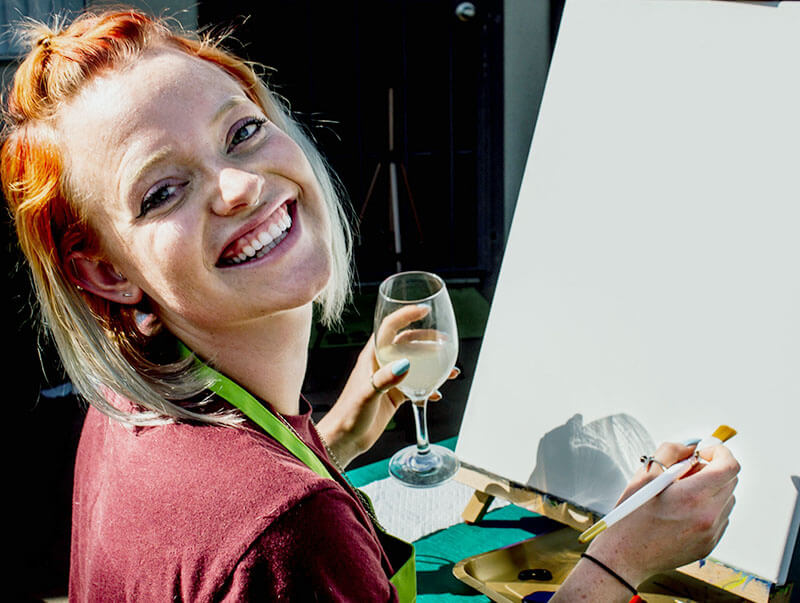
The idea of learning how to paint with acrylics might have you feeling overwhelmed. Painting can be scary because all you want to do is create that perfect piece of art, whether you’re attending a public painting class, or you’re looking to get into painting for the first time in the comfort of your’e own home. I’m here to help you with my acrylic painting tips for first timers, a complete beginners guide to those who haven’t painted for awhile – if not ever!
Why acrylic paint?
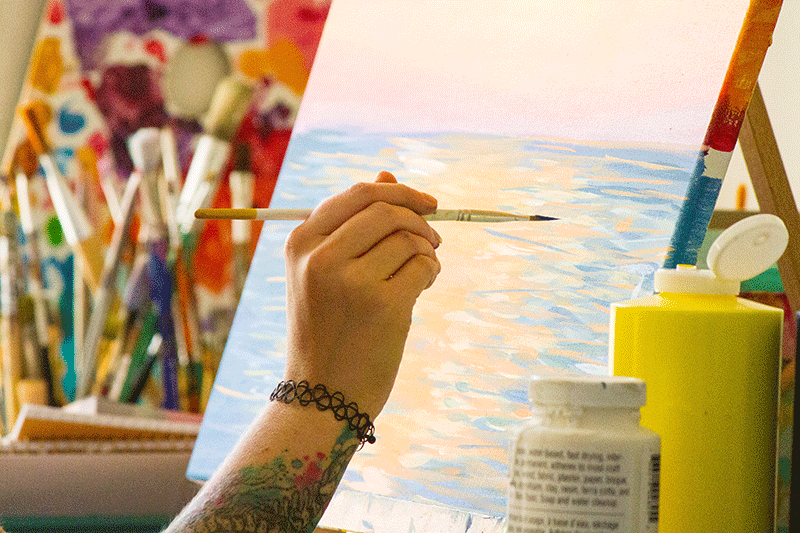
Before we get into more about how to paint, I think it’s important to know more about what your’e painting with. Acrylics are water-based paints, that are quick-drying, making them the perfect candidate for public art classes. Finished acrylic paintings can also be more easily transported shortly after a painting session. Did I mention they are cheaper too?
No harmful solvents are necessary in the painting process or when cleaning up, making them safe for the little ones to use too. Acrylic paints are even easier to clean up after a painting session.
Roll Your Sleeves Up
Which brings me to the first of my acrylic painting tips. You should know that acrylic paints can get messy. I know, I know you are going to try and be “careful.” I can’t tell you how many clothes I’ve ruined thinking the exact same thing. What I’ve learned is that it’s better to be safe than sorry. Trying not to fling paint from everywhere is the furthest thing from your mind when you’re in your creative mojo. Happy accidents do happen though, if you happen to get paint on your clothing make sure you treat it right away with some soap and water. I have my own set of “painting clothes” that I wear so I don’t care if get paint on them.
Luckily if your’e attending a public painting class they provide you with aprons to protect your clothing. Just don’t forget to roll up those sleeves!
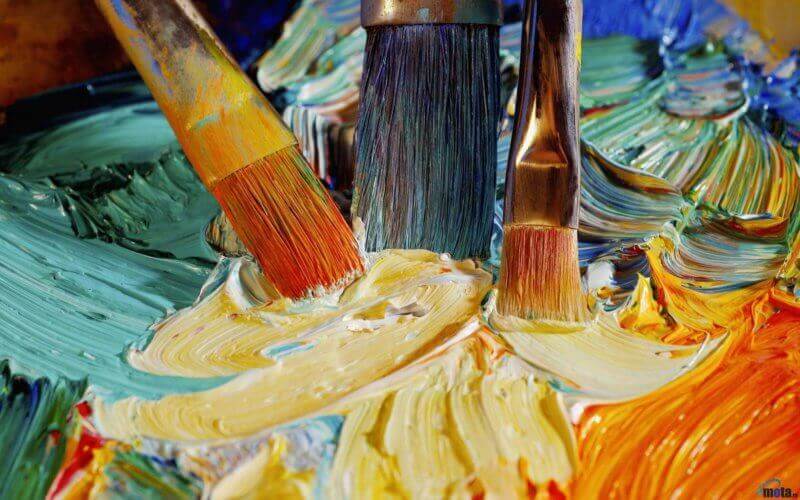
Weapons of mass creation
If your’e in the Southern California area check out Art Supply Warehouse for all your painting essentials. ASW is like Michael’s on steroids but strictly art supplies. Trust me, this place is magical because it’s where creative dreams happen!
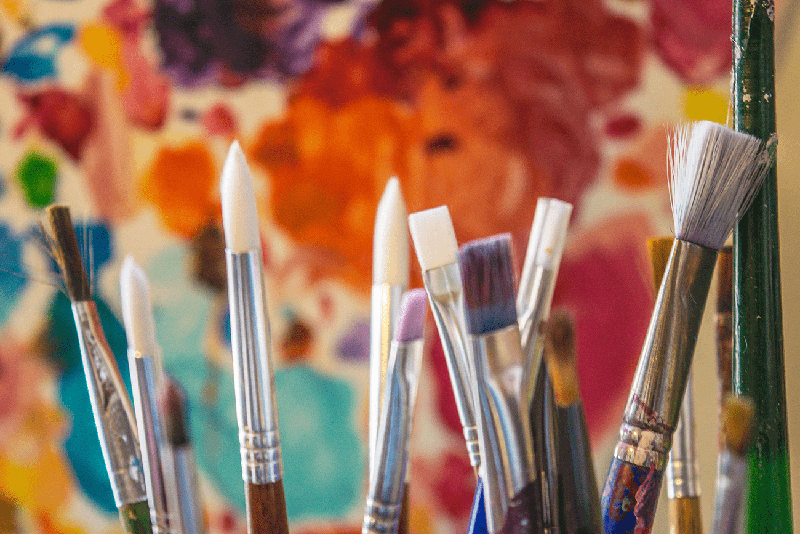
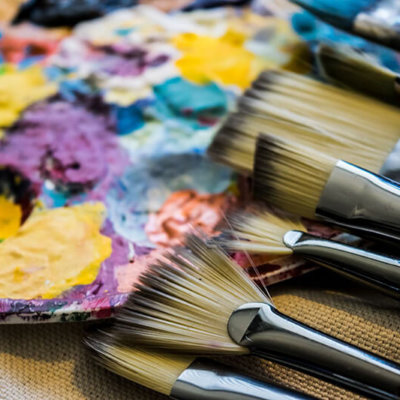
Brushes
Synthetic materials such as nylon are the best choice for acrylic paintbrushes. Stiff brushes are good for applications of thick paint; soft and supple ones are good for applications of thinned paint. You can use as many or as few different paint brushes you wish. As you become more skilled, you’ll want to acquire different types of brushes for different kinds of paint and to produce different kinds of lines.
Never let the paint dry on the brush. If you switch brushes place your paintbrush in your mixing water. Every time after use, you’ll want to make sure you wash each brush thoroughly or you could ruin them.
Palette
The acrylic painter needs a palette that’s flat. Plastic palettes designed for acrylics. Some plastic palettes have lids or sealable compartments to prevent drying. Enameled butcher trays, thick glass, and plastic cutting boards also work well. Paper plates are a great alternative if you are looking for something around the house or attending a paint class.
Surface
Being versatile is another positive of painting with acrylics because they can be applied to a wide range of surfaces including wood, canvas, glass, leather, etc. You will never grow bored painting on the same surface.
Water
A large, unbreakable water container is a must. Change the water frequently so you don’t contaminate the colors on your palette. Plastic cups work just the same.
Towel
To prevent further messes, a towel works great for drying off your brush after dipping into your water each time.
Color is key
Is color theory really that important? The answer is: YES! Color theory is the grammar of art. Even if you’re painting for the first time it’s important to have some sort of understanding how colors interact, complement, or contrast with one another. It is one of the fundamentals of painting, and the more you know about the colors you’re using, the more you can get from them. Don’t let the word “theory” intimidate you. Essentially every color has its own ulterior motive. (More on that later.)
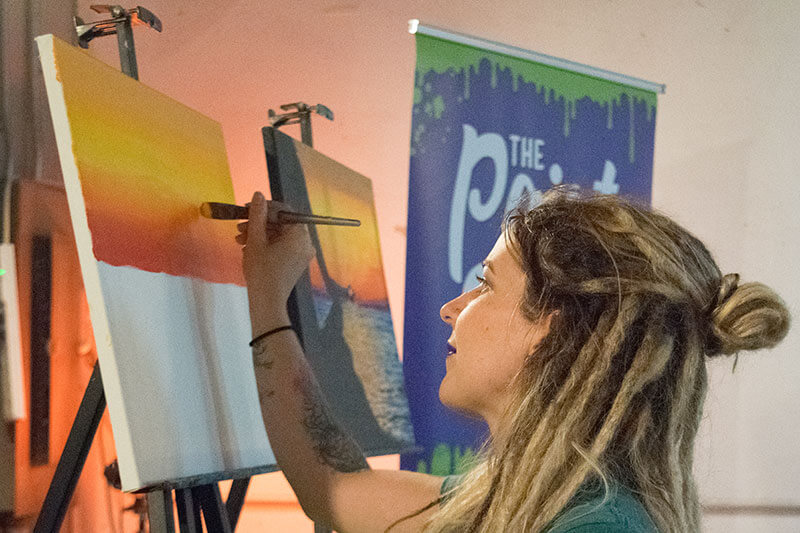
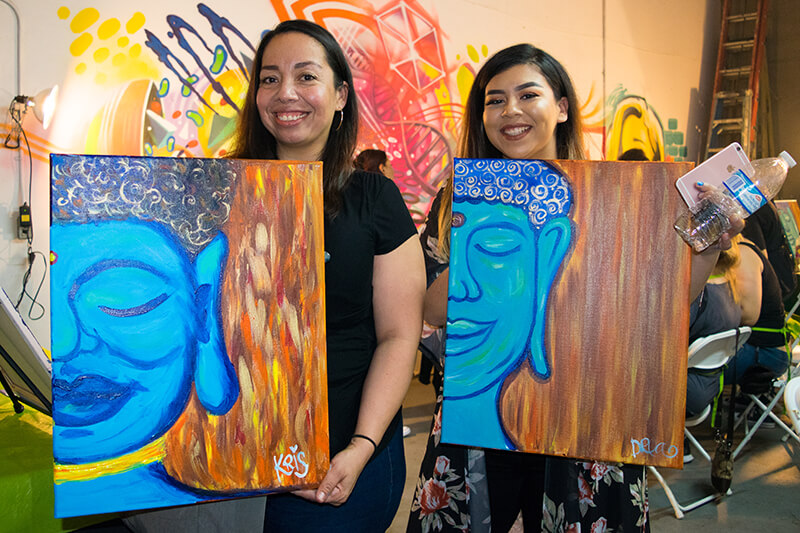
To get started you basically only need the primary colors. For instance, if you’re attending a painting class you will most likely receive only the primary colors: Red, Yellow, and Blue + Black and White. Which might seem like a daunting task to mix up your own colors. But fear not! There are a few painting classes out there that give you secondary colors too. (We do for The Paint Sesh because we know the nightmare of trying to mix brown with only the primary colors. Talk about, YIKES!)
The Basics
Primary colors include red, blue and yellow. Primary colors cannot be mixed from other colors. They are the source of all other colors. Secondary colors are mixed from two primary colors adjacent to each other on the color wheel. The secondary colors are orange, green and violet.
Red + Yellow = Orange
Red + Blue = Violet
Yellow + Blue = Green
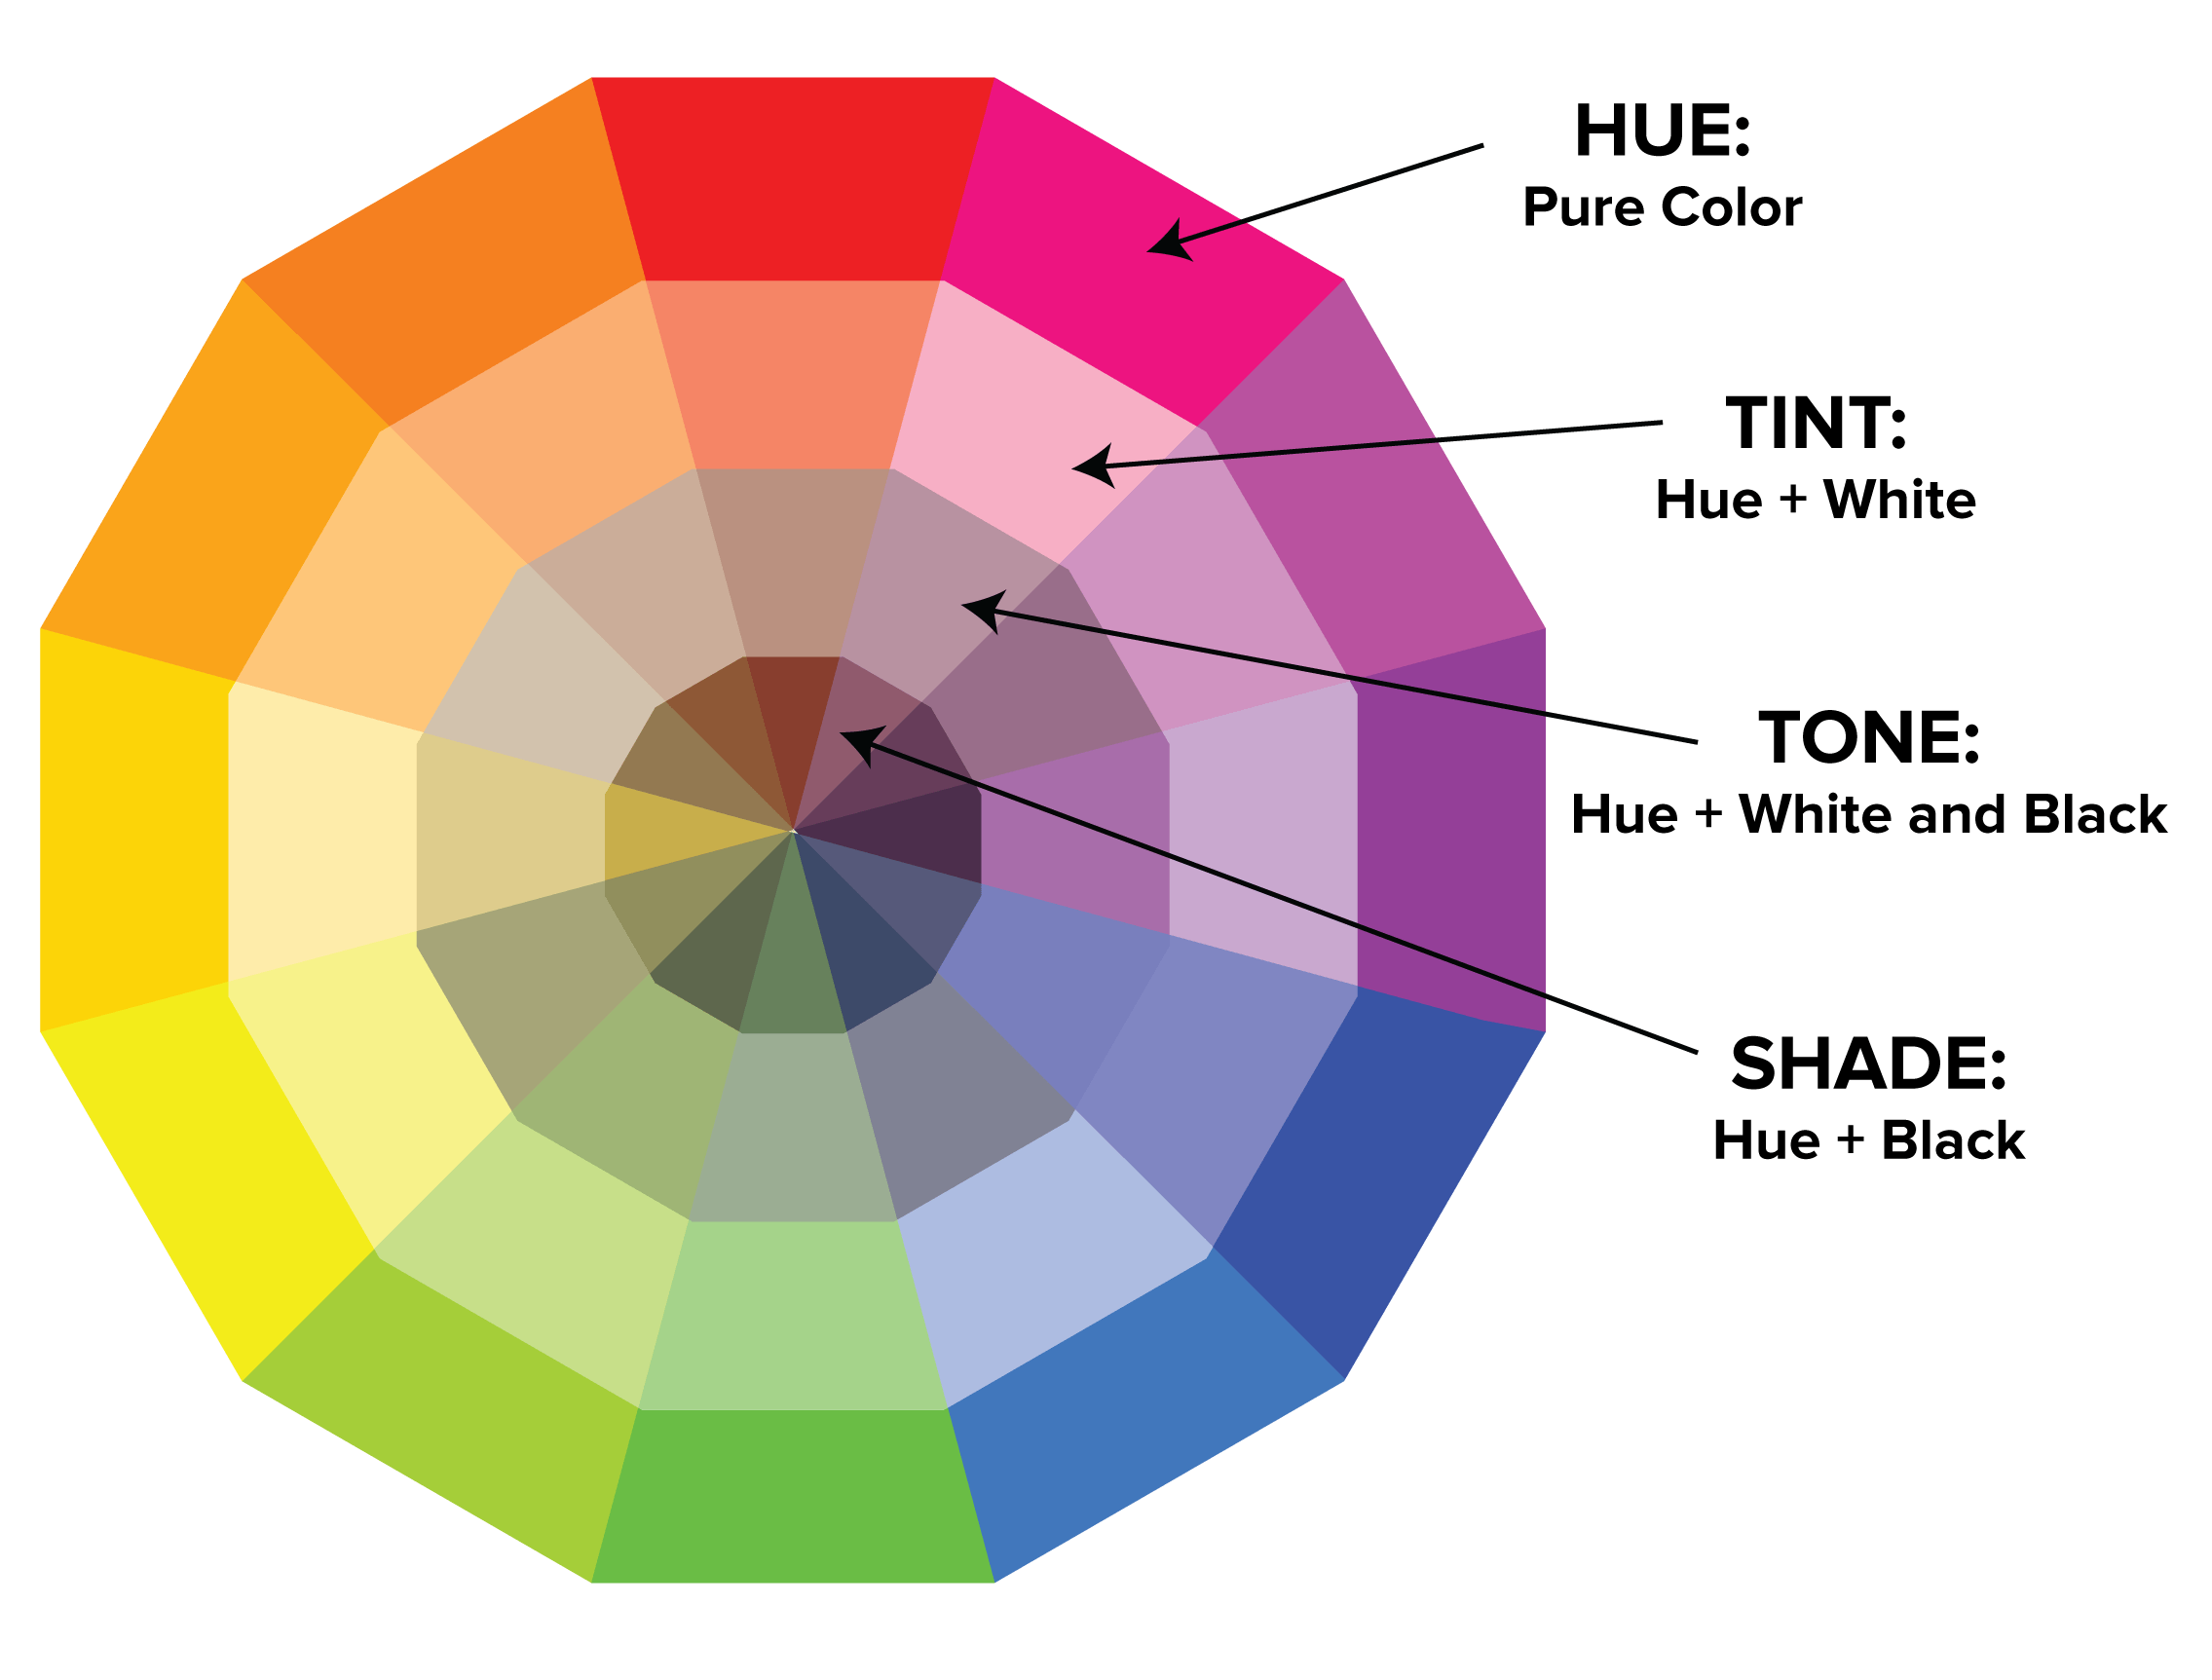
Tints & Shades
You might of noticed not seeing anything about white or black so far. White is considered a tint and black is considered a shade. Giving a flat work of art some life, adding black and white are perfect in adding more contrast to any artwork.
Black: Adding a shade of black to any of your colors are going to make your colors darker.
When you’re wanting to use a black shade a good rule of thumb is less is more. If you mix your color too dark at the beginning it will be much harder to lighten it up, but if you add the black in smaller amounts each time you will have more control of your color mixing.
White: Adding tints of white to your colors gives you opposite results, which will make your colors lighter.
A good rule of thumb when painting with white, is you can never have too much white paint! You can add more amounts of white paint to the color your mixing and you won’t have to worry the shade will overpowering one another.
Paint Consistency
How much paint to use is ultimately up to you, paint as thick or thin as your heart desires. Keep in mind though, the more paint you use on your painting surface, the thicker it is, and the longer your painting will take to dry. This isn’t a big deal if you’re painting at home, but if you are attending a class you might not have as much time to let your paint dry. To avoid this you can add a little bit of water to your paint mixture, which will help thin your paint making it easier to spread around, as well as making the drying time much faster.
*Be cautious to not to add too much water or your paint will drip across your painting. (Unless you’re into that kind of drippy style! )
Blending
When painting in thin, transparent, watercolor like washes, acrylic paint can produce soft edges without blending. But once the paint dries, an edge cannot be softened with scrubbing.
Stay Positive
Staying positive with whatever you create is the most important of my acrylic painting tips! Call me crazy but I truly believe that if you keep a positive mind it will reflect back into your painting, and you will be more than happy with the outcome. If you are constantly complaining and projecting negative feelings towards your painting, your’e not not going to be happy with the results. Keeping that good attitude throughout will take you…and your’e painting a long way.
It’s okay to have questions
I’ve been instructing painting classes for over three years, and have been painting longer than that and I still have questions. Asking questions is normal, that’s how you learn and grow. When you are painting at home, Google is your best friend, if you need to look up the different paint techniques or if you want to learn more about paint mediums. When you are apart of a painting session, the art instructor is only there to help. Asking for a little help every once in awhile doesn’t hurt anyone. You’ll thank yourself later once your’e proudly staring at your completed masterpiece!
when will i know when my painting is finished?
Now to finish my acrylic painting tips with the aged old question, “how do I know if my painting is finished?” Sometimes it’s better to put that brush down sooner verses later. It’s easier to later do something extra to a painting than to undo something if you overwork it. Stepping away from your canvas, to view it at a different perspective helps in determining the level of completeness.
Although, I think Leonardo de Vinci said it best when he said,
“A painting is never finished only abandoned.”
Acrylic Painting Tips Overview
No, my acrylic painting tips and tricks won’t magically make you an expert painter but they will help you gain some insight before you attend a painting class or dive into your own painting. Painting should be more about the process and less about the final product. Just have fun with whatever you are creating and don’t forget to embrace your free-spirit. You never know where your painting can take you.
Come join us for a painting class and find out for yourself. (Or I teach more in depth, private one-on-one art lessons through Chelzart.) Either way, I hope my acrylic painting tips helped you!
Upcoming Sesh's
My sister has been thinking about getting into painting as a fun way to spend her time. Getting a professional paint set delivered to her could allow her to get started earlier. I’ll be sure to tell her about how she should protect her brushes by washing them thoroughly, and make sure that they are made of nylon.